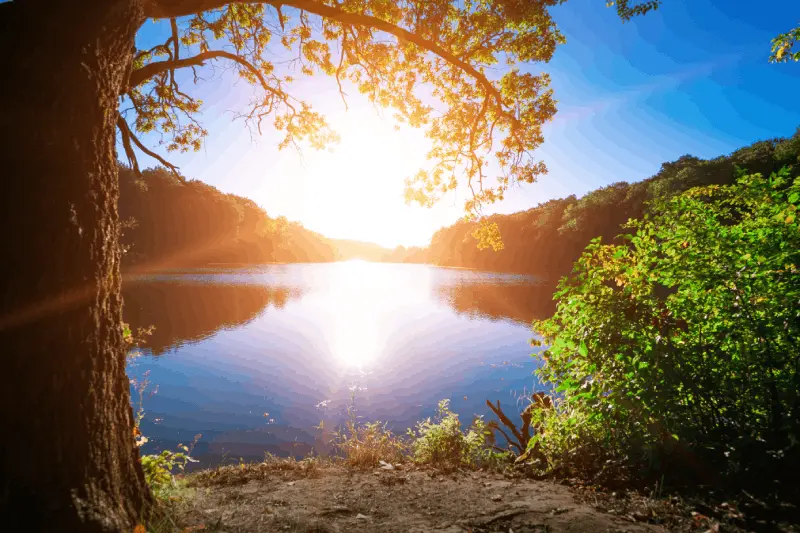
How Do the Golden Hours Reflect on Camp Shots?
When it comes to camping and nature photography, the term "Golden Hour" ranks first on every professional's agenda. During that limited time just after sunrise and just before sunset, sunlight reaches the world at a more horizontal angle. This situation causes harsh shadows to soften and creates a warm, golden tone on your camping gear. These hours are invaluable for highlighting the texture of your tent fabric, capturing the light beams passing through coffee steam, or conveying the depth of nature in your photographs. The horizontally incoming light allows your sensor to capture more details by reducing the contrast of the landscape, transforming your campsite into a film scene.
How Is the Melancholic Atmosphere Created by the Blue Hour Used in Camping?
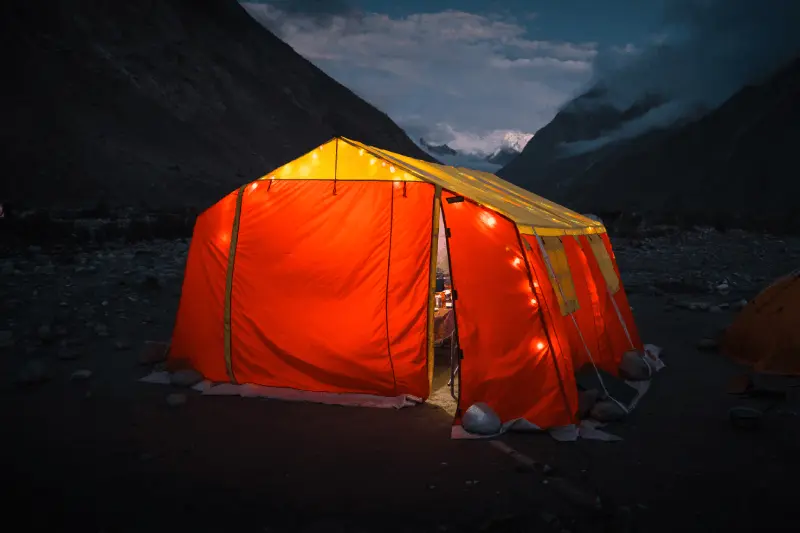
When the sun dips below the horizon but darkness has not yet fully set in, the "Blue Hour" emerges, adding a mystical and peaceful air to camp photos. During this time, when the sky is enveloped in deep navy and sapphire tones, the light from a lantern peeking out from the tent or the orange glow of a campfire creates a tremendous color contrast. The dance of cool blue tones with warm artificial lights triggers a feeling of "being at home" in the viewer. Using long exposure techniques while shooting during these hours helps you gather the last light fragments in the sky and capture the unique tranquility of your campsite. Using a tripod is essential at this stage because low light requires your shutter speed to slow down.
What Are the Best Minutes to Capture the Milky Way Exposure at Midnight?
Far from city lights, the sky is your biggest canvas while camping in the heart of wild nature. To photograph the Milky Way in all its glory, it is essential to track the moon phases and choose the "New Moon" period. The hours around midnight when there is no moon, and the air is dry and clear (usually between 00:00 and 03:00), are the times when the galactic center is most prominent. In your shots during these hours, you can create a sense of depth by placing your tent in the foreground. This niche time frame, where light pollution is close to zero, allows stars to appear not just as dots but as shining diamonds. With a wide aperture lens and high ISO values, you can merge your camping adventure with the infinity of the universe.
How to Convey the Texture of Foggy Mornings in Photos?
If you are camping by a lake or in a high plateau, the fog clouds rising from the ground with the first rays of sunlight create a unique decor for you. Between 05:00 and 07:00 in the morning, during those moments when you witness nature waking up, the layers created by the fog add depth and mystery to your photos. The "God Rays" filtering through the trees become most pronounced in foggy weather. When shooting during these hours, slightly increasing the exposure compensation (+0.7 or +1.0 stop) prevents the fog from turning gray, ensuring your photos appear brighter and more dreamlike. Sacrificing sleep to capture this fleeting moment of nature will be the greatest reward you see.
How to Cope with the Harsh Shadows of the Noon Sun?
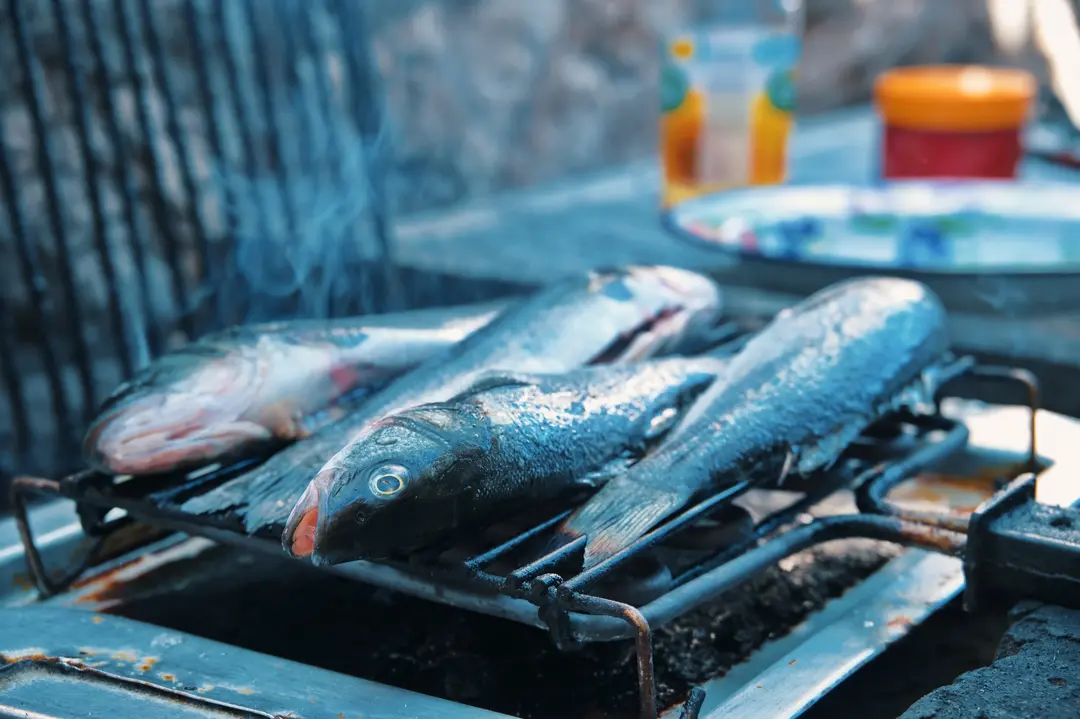
Although photographers generally avoid the noon hours, sometimes you may need to shoot during these times due to the dynamics of camping life. The harsh shadows created when the sun is directly overhead between 11:00 and 14:00 can hide details on the camper's face or wash out the colors of the landscape. However, it is possible to turn this disadvantage into an advantage. If you are in a wooded area, you can capture artistic and graphic frames by using the fragmented shadows created by tree leaves. Additionally, these hours are when the waters appear clearest and turquoise; you can highlight the details on the lake or riverbed by using a polarizing filter. Using a white camping tarp as a "diffuser" to soften the harsh light is also a creative solution.
How Can We Incorporate the Warm Light of the Campfire into Night Shots?
Moments gathered around the campfire are the best reflections of the social spirit of camping. As the evening progresses and darkness falls, the faces illuminated by the fire provide a natural "Rembrandt lighting" for portrait photography. To capture the constantly changing light intensity of the fire, you should use continuous shooting mode and keep the ISO value at reasonable levels. Using medium shutter speeds like 1/50 or 1/80 to capture the sparks flying from the fire adds dynamism to the frame by slightly defining the motion trail. In these shots, setting the white balance to "cloudy" or "shade" will enrich and saturate the warm orange tones of the fire.
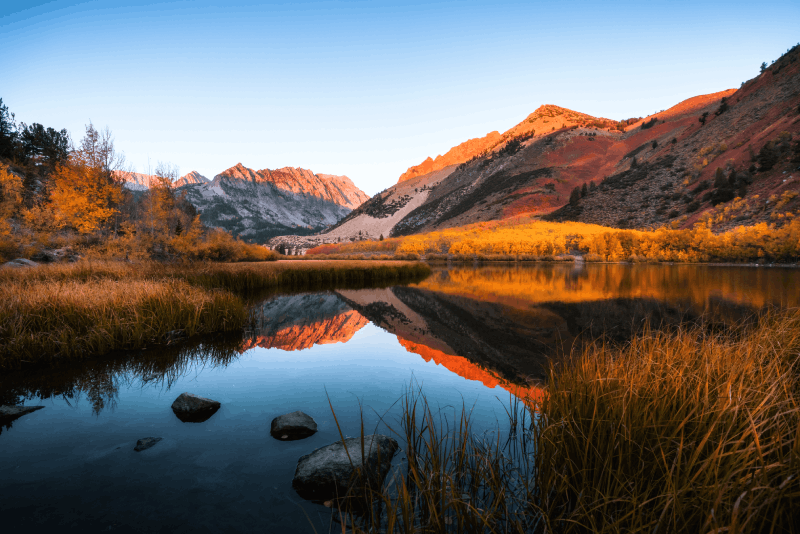
How to Capture the Sharp Silhouettes of Mountains in Twilight?
Civil twilight, which begins about 20-30 minutes after sunset, is the ideal time to distinguish the sharp lines of mountain peaks from the sky. At this time, the sky still has some light, but the earth has begun to darken. This contrast allows you to take stunning silhouette photos. Setting up your camping tent on a ridge and positioning it as a silhouette against the dark blue sky gives the viewer a sense of scale and place. During these hours, you should focus not on infinity but on the sharp lines of the object you are photographing. The color transitions in the sky (from orange to purple, from purple to blue) reach their most saturated state during these minutes, transforming the background of your photo into a self-made painting.
Is It Possible to Photograph Night Nature Photography Under the Full Moon Light?
Although most star photographers avoid the full moon, for landscape photographers, full moon nights serve as a "night sun". The full moon overhead after 22:00 casts a soft and silvery light on the landscape, ensuring details are visible. Long exposures of 20-30 seconds taken under this light create surreal photos that evoke the feeling of being shot in daylight but on a different planet. Shadows are soft rather than harsh, and colors appear slightly desaturated, adding a dreamlike aesthetic to the photos. On full moon nights, every rock and tree shadow in your campsite becomes a part of a surreal composition.
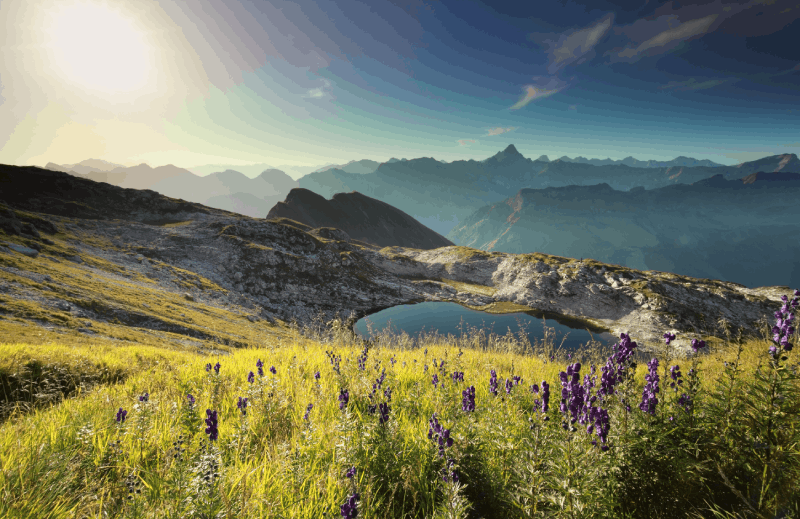
What Do the Colors of the Sky Before a Storm Add to Camp Photography?
The principle of "bad weather, good photography" in nature photography also applies in a camping environment. As a storm approaches, the hours when clouds become heavy and light dramatically filters through them add an epic atmosphere to your camp shot. Regardless of the hour, that gray-blue sky before the storm and the trees bending in the strong wind highlight the challenges of camping and the power of nature. When shooting during these moments, you may need to slightly reduce the exposure to avoid losing the texture of the clouds in the sky. Placing the ropes of your tent stretched in the wind or a flapping raincoat in the foreground will directly convey the chaos and adrenaline-filled atmosphere of that moment to the viewer.
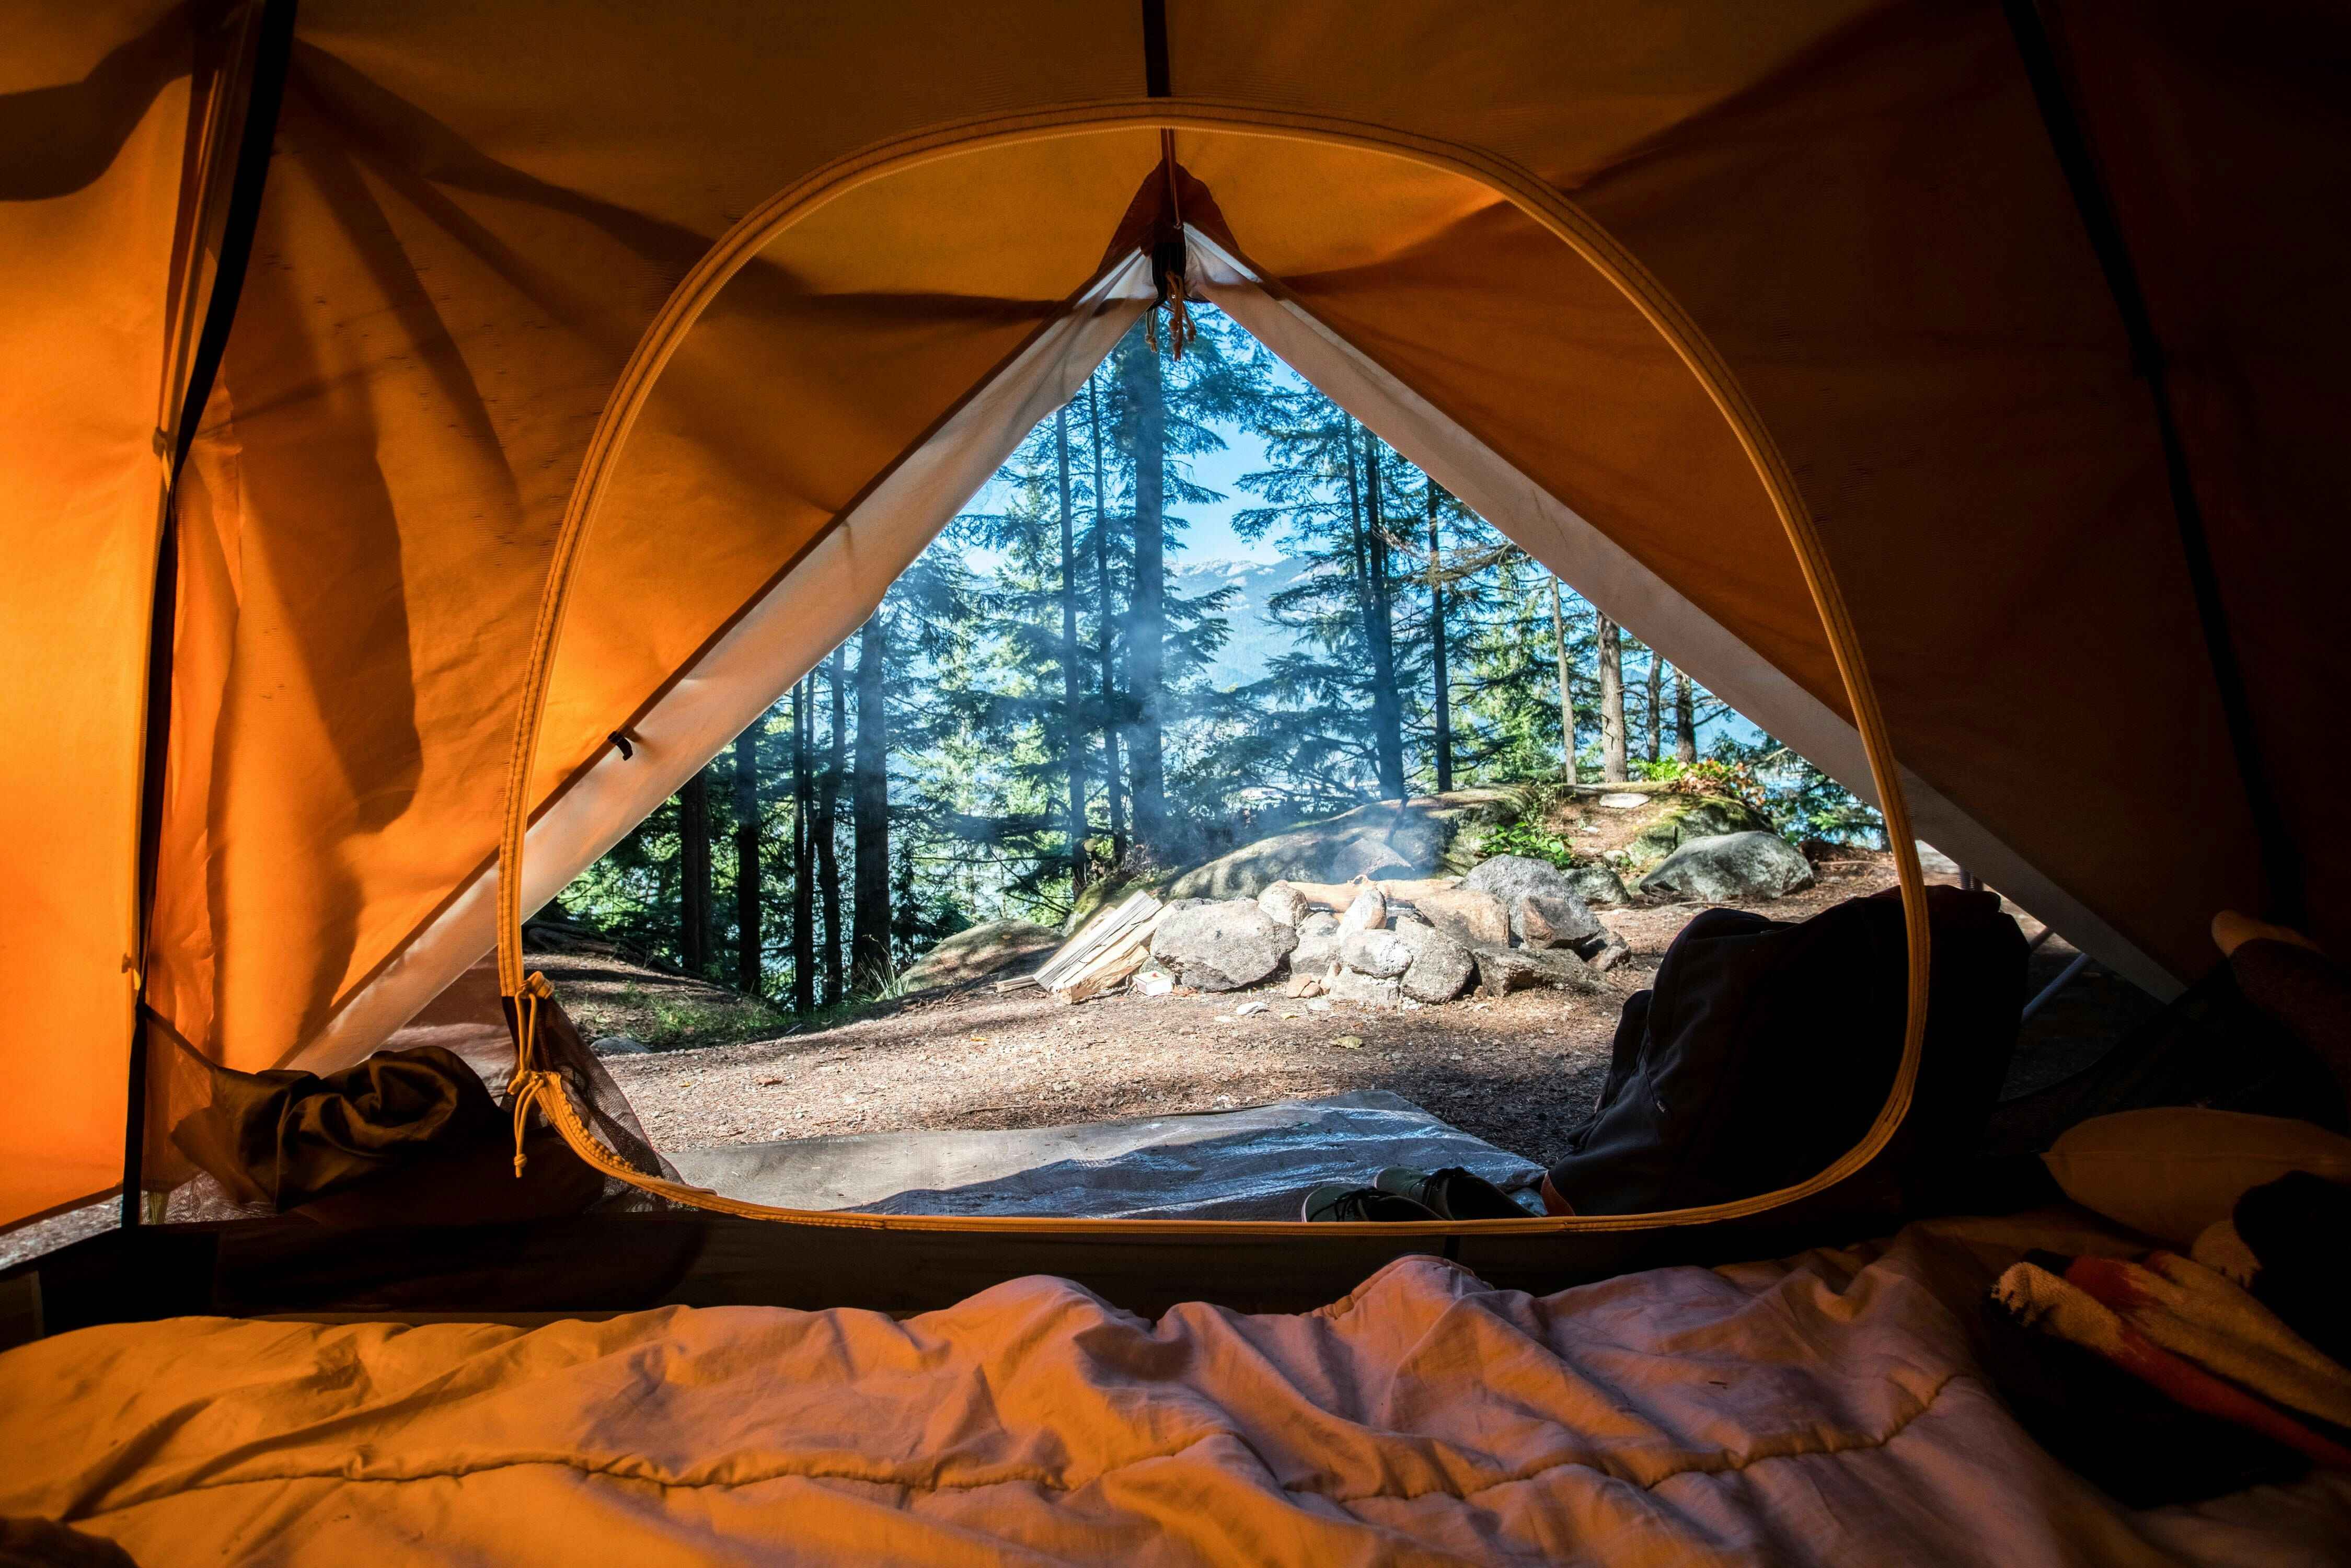
When Should Preparations Begin to Capture Sunrise from Inside the Tent?
The tent interior photos, which correspond to the phrase "opening your eyes to the view", are among the most beloved camping shots on social media. To perfect this shot, you should wake up at least 30 minutes before sunrise. The moment when light first seeps inside through the zipper of the tent tells a realistic and sincere story about the clutter inside (mat, sleeping bag, coffee mug). To balance the shadow inside with the bright daylight outside without completely darkening the tent, you can prefer HDR techniques or graduated exposure. Shots taken around 06:00 in the morning, while nature's colors are still very soft, create a bridge between the camper's inner world and the wild life outside.
How to Capture Moments When Light Comes in Beam Form in the Depths of the Forest?
When shooting in dense forested areas, light is not always homogeneous. The phenomenon we call "forest light" is characterized by light beams filtering through tree branches, usually during bird time (morning 09:00 - 10:00). If the air is slightly humid or the leaves on the ground are evaporating, these beams become visible. Photographing the light spots falling on the forest floor during these hours adds a fairytale depth to your campsite. By capturing the light from directly behind (backlighting), you can ensure the textures and dust particles are highlighted. In these shots, using spot metering mode to reference only the point where the light falls ensures that the surrounding dark areas remain more mysterious.
What Time Is Suitable for Correctly Exposing the Light Reflected by Snow in Winter Camping?
In winter camps, light management completely changes because snow acts like a massive reflector. The best details in snowy landscapes are captured in the morning around 10:00 when the sun is not too high or after 15:00 in the afternoon. Side lighting is needed to capture the crystal texture on the snow. When the sun is directly overhead, the snow texture disappears, and everything appears uniformly white. During the twilight hours, the long tree shadows falling on the snow add a graphical rhythm to your camp photos. Additionally, chasing the "pink-orange" reflection of the sunset to break the blue light reflected by the snow and achieve warmer, inviting frames is the pinnacle of winter camping photography.
At What Time Can We See the Milky Way Galaxy Most Clearly?
For those new to star photography, seeing the famous band of the Milky Way is not always easy. Astronomically speaking, the time when the galactic center is most prominent is after the "astronomical twilight", when the sun has dipped 18 degrees below the horizon. This usually encompasses the pitch-black period between 23:00 at night and 04:00 in the morning. During these hours, when you extinguish your campfire and wait for your eyes to adjust to the darkness, you can see the gas clouds in the sky and the star density in their clearest form. When shooting during these hours, you need to adjust your lens's manual focus very precisely according to the stars. With the right timing and technique, you can capture the depths of the universe while sitting in your camping chair.
Why Is the "Civil Twilight" Right After Sunset Valuable?
While most people put their cameras away saying "shooting is over" when the sun sets, true professionals know that the real show has just begun. In the first 20 minutes of the "civil twilight" period after sunset, the colors in the sky turn pastel, and the light on earth is incredibly soft. This time is the perfect moment for capturing camp portraits; because no one's eyes are dazzled by the sun, and skin tones gain a natural glow. Additionally, since the sky is still illuminated during these hours, you can shoot without losing the details of the mountains or your tent. The moment of "alpenglow", when the sun's setting light hits the high peaks, occurs precisely during these minutes.
What Are the Hours When the Wind Stops to Capture Reflection Photos in the Lake?
If your campsite is by a water body, you should choose the times when the wind is calmest to capture that famous "mirror reflection" shot. Nature generally holds its breath just before sunrise and just after sunset. Between 05:30 and 06:30 in the morning, the water surface is still flat before the morning breezes begin. During these hours, you can position your tent directly across from the lake and capture those symmetrical frames that double nature. Due to the low light level, long exposures will further clarify the reflection by smoothing out even the smallest ripples on the water. This is not just a photo; it is also a digital proof of the tranquility that camping offers.
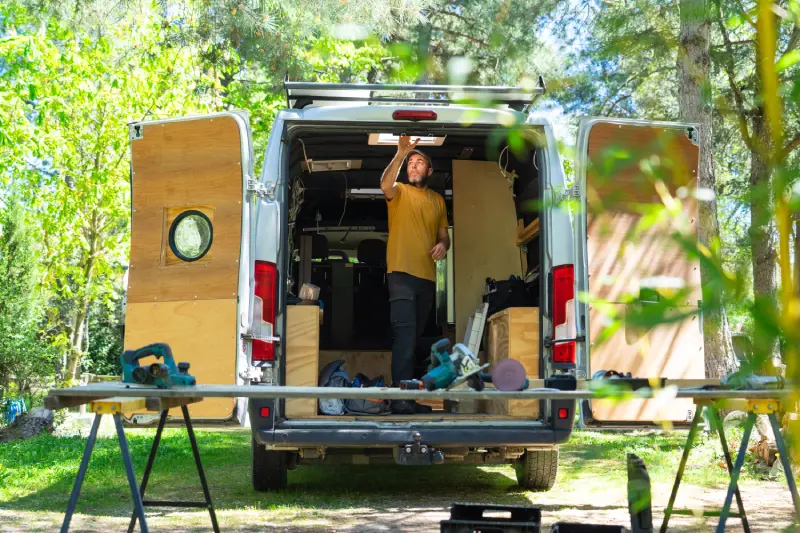
How to Create Creative Camp Shots Outside of the Golden Hours?
In photography, rules are meant to be broken, and shooting during the day's "difficult" hours sometimes yields the most unique results. For example, in the afternoon (between 15:00 - 16:00), the harshness of the sun begins to diminish, but shadows are still long. You can use these hours to capture lively moments in the campsite (chopping wood, preparing food). With high shutter speeds, you can freeze splashes of water or smoke rising from the fire. Additionally, shooting in cloudy weather in the middle of the day allows you to take photos of products (knife, backpack, camping stove) with even lighting, soft shadows, and detailed textures, thanks to the clouds acting as a giant softbox. Every hour has its own language; the important thing is to be able to combine that language with the spirit of camping.