What Is the Easiest and Most Guaranteed Way to Bake Bread in the Wild?
Baking bread in the embrace of nature, without the modern kitchen equipment, is both a challenge and a great source of joy for many campers. The smell of freshly baked bread, combined with the smoke of the campfire, creates a unique aroma that is enough to make you forget all the stress of the outside world. However, making bread in the open air requires specific techniques and tips, as you do not have a standard oven with set temperatures like in a kitchen. In this article, we will examine step by step the methods that anyone from the most amateur camper to the most experienced bushcraft master can apply, eliminating the possibility of failure.
Why Is Baking Bread in the Wild a Method of Spiritual Therapy?
The fast pace of city life and the endless notifications of the digital world often tire the human spirit and distance it from nature. Making your own bread in the wild is a meditative process that pulls you away from all this chaos of the modern world and into the moment. Kneading the dough with your own hands, inhaling the scent of the earth, feeling the warmth of the fire on your skin, and witnessing the flour combine with water to turn into a source of life connects you with humanity's thousands of years of genetic heritage. In this process, you learn to be patient, communicate with fire, and accept the reality that the result may not be perfect, but it is your effort. Baking bread is not just a physical need; it is a way for the soul to synchronize with nature.
What Ingredients Should You Bring to Bake Bread in the Wild?
The first rule of being successful in baking bread in the wild is to organize the right ingredients in a light and portable way. The basic components, flour, water, yeast, and salt, are already at the top of the list; however, the quality of these ingredients and how they are stored is of vital importance. Carrying your flour in pre-sifted, airtight bags is the best method to protect it from moisture. Additionally, bringing a small bottle of olive oil will enhance the dough's consistency and prevent it from sticking to the containers. If you want a professional result, a cast iron pot (Dutch Oven) or a lightweight titanium pan set will be the most valuable piece of your gear. While carrying a thermometer to measure the heat may seem like a luxury, it can be lifesaving for beginners to understand the intensity of the fire.
Is Bread Without Yeast or Bread with Dry Yeast More Guaranteed?
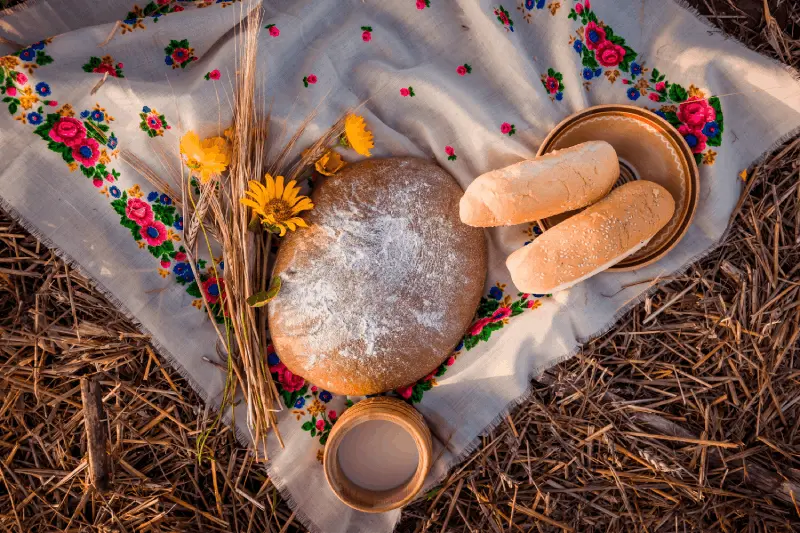
In the wild, time and weather conditions may not always be under your control. At this point, unleavened breads (like Bannock) stand out with their speed and practicality. To make unleavened bread, you only need flour, water, salt, and a bit of baking powder; this means you don't have to wait for hours for the dough to rise. However, if you are looking for a real bread texture and aroma, using dry yeast (instant yeast) is a more guaranteed way. Dry yeast can be mixed directly with flour without needing to be moistened, providing great convenience in camping conditions. If the weather is warm and you have time, leavened bread will always be tastier and more filling; however, if the weather is cold and you are hungry, the unleavened method is the safest harbor.
How to Control Heat While Baking Bread on a Campfire?
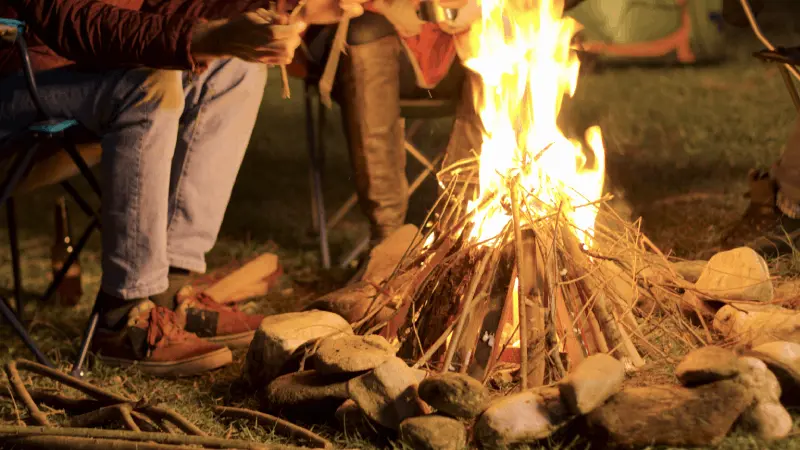
In a kitchen oven, the button you set to 200 degrees gives way to the coals and flames in a campfire. Controlling the heat of the fire is the most challenging but critical phase of baking bread in the wild. Cooking directly over flames can cause the outside of your bread to burn while leaving the inside raw. The most guaranteed method is to use the coals you obtain from the fire. By creating a small "baking pit" next to the fire, you should only transfer the coals here and place your pot on top of these coals. Sprinkling some ash over the coals helps keep the heat stable and ensures a softer and more even distribution of heat. Remember, bread is baked not with flames, but with consistent heat.
Is It Possible to Bake Bread Without a Dutch Oven?
Many campers do not want to carry heavy cast iron pots, but this does not mean you cannot bake bread. One of the most creative ways to bake bread without a Dutch Oven is to use the "reflector oven" concept. By placing aluminum foil or a shiny metal surface in an open manner facing the fire, you can ensure that the heat hits the dough from all sides. Another method is the "double pan" technique; you can create a small oven environment by placing the dough inside one pan and covering it with a second pan upside down. In bushcraft techniques, wrapping the dough around a clean branch and turning it over the coals is also a very effective and fun alternative.
What Are the Tips for Baking Bread on a Stone?
If you have no baking vessel nearby, nature provides everything you need. Baking bread on a stone is one of humanity's oldest techniques. However, not every stone is suitable for this job; especially wet stones near riverbanks can explode due to the moisture inside when heated. Therefore, you should prefer dry and non-porous rocks. After thoroughly heating the flat stone you choose in the fire, pull it aside, clean its surface, and place the dough directly on top. Covering it with a metal container or another hot stone creates an oven effect, ensuring that both sides of the bread cook evenly. The heat of the stone ensures that the bread is baked properly.
adds a rich texture and a smoky aroma.What Are the Secret Techniques to Ensure Bread Dough Rises in Nature?
Cold air is the biggest barrier that forces the yeast to activate. In mountainous or forested areas, when the night temperature drops, you need creative solutions to help the dough rise. One of the most effective techniques is to keep the dough bowl warm with your body heat; wrapping the bowl in a cloth and placing it inside your jacket will ensure the dough ferments quickly. Alternatively, you can dig a hole in a spot where the ground is slightly warm, away from the campfire, and bury the bowl there. This method, which traps heat, provides the stable temperature needed for the yeast to work. Additionally, adding a pinch of sugar to the dough will speed up the process by providing the energy the yeast needs.
What Should Be Considered When Baking Bread at High Altitude?
As you ascend above sea level, air pressure decreases and the boiling point of water drops; this directly affects the bread baking process. At high altitudes, dough rises faster because the external pressure is lower, but this can also cause the dough to collapse before it enters the oven. Therefore, it is better to slightly reduce the amount of yeast and increase the amount of flour when baking at high altitudes. Additionally, in high areas where humidity is low, the dough dries out very quickly; placing a small container of water inside the pot during baking or spraying water on the dough helps the bread bake softly without drying out.
How to Optimize Hygiene Conditions While Baking Bread in Nature?
When working outdoors, the cleanliness of your hands and equipment is as important for your health as the taste of the bread. You should always clean your hands with natural soap or disinfectant before kneading the dough. To prevent soil and leaf particles from mixing into the dough, you can create a working area by sprinkling flour on a large silicone mat or a clean trash bag. If you do not immediately clean the leftovers in the bowl where you kneaded the dough, odors can attract wild animals to your camp. Using water that has been boiled and cooled beforehand is also the best precaution against bacteria that can be transmitted through water.
What Aromatic Herbs Can Be Added to Bread Dough from Nature?
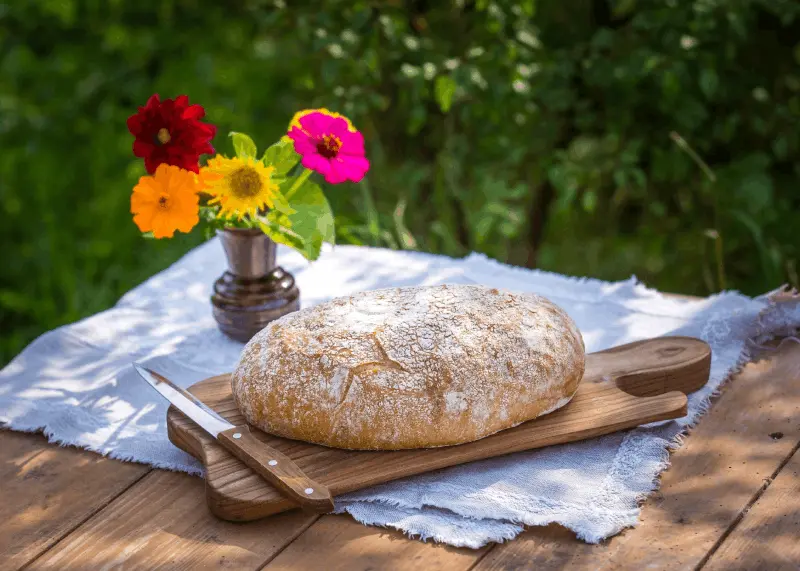
The most exciting aspect of baking bread in nature is incorporating the ingredients around you into your dough. If the season is right and you know the plants, adding flavors like wild thyme, fresh rosemary, or wild garlic can transform your bread into a gourmet delight. After thoroughly washing and finely chopping the plants you collected from nature, adding them to the dough ensures that these flavors spread throughout every crumb of the bread while baking. Additionally, if you can find fresh pine needles (only certain types, be careful), steeping them in water and using this aromatic water in the dough adds a subtle forest touch to the bread. This creates a complete connection with nature.
How Should Charcoal Be Used to Avoid Burnt Bread Crust?
The most common problem encountered in campfires is that the bottom of the bread gets charred while the top remains white. To solve this issue, the "charcoal bed" technique is applied. Sprinkling a thin layer of charcoal over the heated coals reduces the direct heat from the flames and converts it into radiant heat. When you place your pot on top of this layer of charcoal, the heat is transmitted more slowly and deeply. Similarly, when placing coals on top of the pot's lid, mixing charcoal between the coals prevents the lid from overheating and burning the top of the bread. Charcoal is your most sensitive degree adjustment in nature and is indispensable for controlled cooking.
How to Establish the Balance of Bottom and Top Heat When Using a Dutch Oven?
The golden rule when cooking with a Dutch Oven is the principle of "more heat from above, less from below." Bread tends to heat from the bottom, and if the heat from the bottom is too strong, the bottom of the bread will burn quickly. For ideal balance, if there is 1 unit of coals underneath, there should be 3 units of coals on top of the lid. This way, while the inside of the bread rises, the top also browns beautifully. Halfway through the baking time, rotating the pot 90 degrees on its axis and the lid 90 degrees in the opposite direction minimizes the uneven heat distribution caused by the wind direction of the fire. This rotation technique is a trick used by professional bakers.
Is Maintaining and Using Sourdough Difficult in Nature?
Sourdough may seem difficult to maintain in natural conditions because it is a living organism, but it is actually one of the most resilient methods. You can carry dried sourdough with you on long trips and revive it with water and flour in the early days of your camp. Breads made with sourdough stay fresh longer and are easier to digest, giving you an advantage on long hikes. The only challenge is that the fermentation time of sourdough is long; therefore, you need to knead the dough the night before and let it rest next to your sleeping bag or in a safe, warm place until morning. The reward for your patience is the most delicious bread you can enjoy in the wild.
What Is the Fastest Way to Make Bread on a Stick (Bannock)?
If you are short on time and do not have a baking container, making bread on a stick is the most practical solution. For this method, known as "Bannock," you should knead the dough a bit firmer and wrap it around the end of a long, clean stick. Peeling the bark off the stick prevents the dough from sticking. Instead of placing the prepared stick directly over the fire, you should stick it into the ground next to the fire to expose it to the heat of the coals. By turning the stick occasionally to ensure even cooking on all sides, you will have a wonderful bread in about 15-20 minutes that is hollow inside and shaped like a roll. Adding pieces of cheese or sausage to the dough in this method turns it into a complete camp feast.
How Do Weather Conditions Affect the Bread Baking Process?
The weather in nature can be your biggest ally or your most challenging adversary. In a windy environment, the heat of the fire is constantly dispersed, and while one side of the pot remains cold, the other side can become excessively hot. In this case, it is essential to create a windbreak. In rainy weather, the humidity will be very high, so the dough may be more liquid; therefore, you should carefully adjust the amount of flour. In extreme heat, the dough rises very quickly and can spoil, which ruins the taste. To adapt to every weather condition, you must be flexible, follow the direction of the wind, and position your fire according to the weather conditions.
What Are the Storage Conditions to Keep Your Bread Fresh?
You may not be able to finish that beautiful bread you made outdoors immediately. To prevent the bread from drying out and hardening, you need to wrap it in a cloth bag or a clean towel immediately after baking. Plastic bags cause the bread to sweat and mold quickly, so breathable fabrics should be preferred. If the bread becomes very hard, lightly sprinkle some water on it before eating and reheat it near the coals to bring it closer to its original freshness. Additionally, storing the bread whole without slicing it helps retain moisture for a longer time. When storing food outdoors, be careful not to attract wild animals by ensuring that it does not leak odors.
What Test Can Be Applied to Ensure There Is No Dough Left Inside the Camp Bread?
Your bread may look very nice on the outside, but ensuring that the inside is properly cooked can sometimes be difficult. The classic method is the "thump test"; when you take the bread out of the pot and tap the bottom with your finger, it should make a hollow sound. If the sound is dull, the inside is still moist and doughy. Another method is to insert a thin, dry twig into the center of the bread and pull it out; if the twig comes out clean, the bread is ready; if there are dough remnants on it, it needs to bake a little longer. Acting impatiently and cutting the bread too early can cause the steam inside to escape and the bread to collapse; therefore, it is critical to let it rest for at least 15 minutes before cutting.
What Are the Biggest Mistakes Encountered When Making Bread Outdoors?
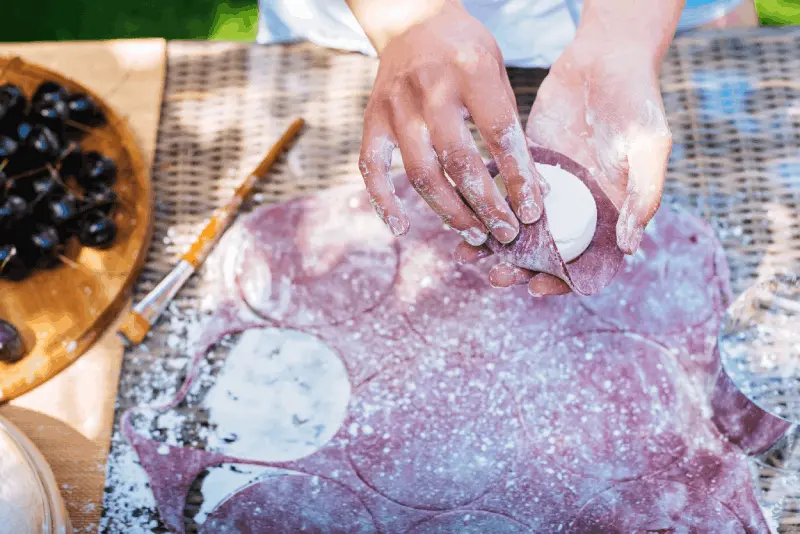
The biggest mistake beginners make is putting the dough directly into the flames or acting impatiently by constantly opening the lid of the pot. Every time you open the lid, the valuable heat and moisture that has built up inside escape, which prolongs the cooking time and leads to the bread hardening. Another common mistake is not kneading the dough enough; to develop gluten bonds outdoors, the dough needs to be kneaded energetically for at least 10 minutes. Additionally, directly contacting yeast with salt can kill the yeast, so it is healthier to add the yeast after thoroughly mixing the salt into the flour.
What Is the Lightest Cooking Equipment for a Minimalist Camper?
For campers who want to save weight but do not want to give up on bread, "vacuum cooking" or "foil packets" are excellent options. The lightest method is to double a thick, quality aluminum foil and place the dough inside, then leave it between the coals. However, for a more professional result, collapsible titanium ovens or silicone baking containers weighing only 200-300 grams can be preferred. Silicone containers are also suitable for steaming inside a pot placed over a camp stove (bain-marie method). Breads made using this method are crustless and very soft, making them ideal for sandwiches.
How Should the Fire Area Be Cleaned After Baking Bread?
The joy of baking bread outdoors can be sustained as long as respect for nature is maintained. After your cooking process is complete, you should use water and soil to completely extinguish the coals you used. According to the "Leave No Trace" principles, you should return the stones you used to their places, clean up any spilled flour, and restore the fire area to its original state. Dispose of water containing dough remnants at least 60 meters away from water sources to protect the ecosystem. The better you take care of nature, the more generous it will be to you on your next camping trip, allowing you to bake your best breads once again in its embrace.