Nature photography is the art of reading light and dancing with it, beyond technical skill. While the right light can transform an ordinary landscape into an epic work of art, the wrong light can make even the most magnificent geography appear flat and lifeless. In this blog post, we will delve into the different stages of light that nature offers, the technical requirements, and the spirit that these hours will add to your photographs.
What Are the Key Factors That Determine the Mood of Light in Nature?
In nature photography, light is not just a tool for illumination; it is also the most powerful storyteller. Among the factors that determine the quality, direction, and color of light are the angle of the sun on the horizon, the humidity in the atmosphere, and the density of the cloud layer, which rank high on the list. Light can bring out the texture of an object or leave it completely in shadow, creating a mysterious atmosphere. Understanding these dynamics allows a photographer not only to capture the right pose but also to convey the emotion of the moment to the viewer. Every ray of light that falls to the earth varies according to geographical location and season; therefore, deciphering the character of light is a process that requires patience and observation. The softness or hardness of light directly affects everything from the photographer's choice of equipment to the shooting technique.
How Does the Color Spectrum of the Golden Hour Add Depth to Photographs?
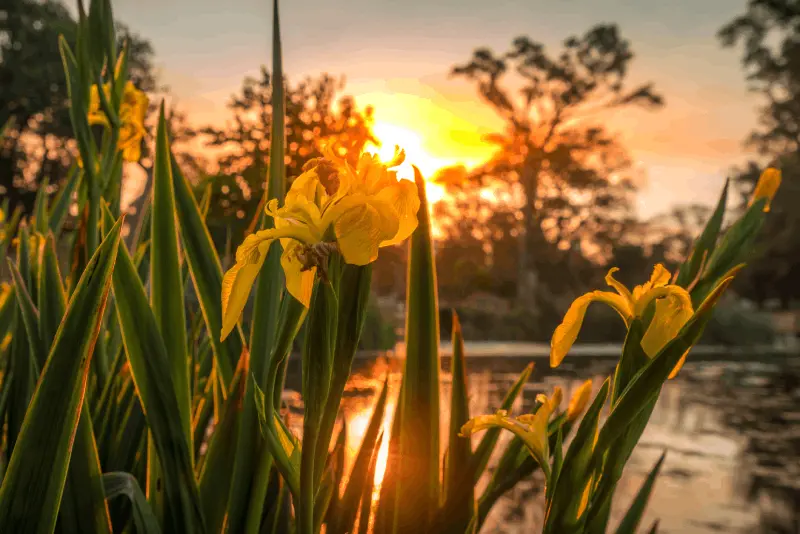
The "Golden Hour," which occurs just after sunrise and just before sunset, is the favorite time frame for photographers. During this period, sunlight passes through a thicker layer of the atmosphere, scattering blue wavelengths and leaving warm yellow, orange, and red tones. This low angle of light creates long and soft shadows in landscapes. These shadows enhance the three-dimensional perception of the photograph, adding depth and texture. A mountain range or a forest path captured during the golden hour presents not just an image but also a story that conveys warmth and tranquility. As the saturation of colors increases, a soft contrast is created that does not strain the dynamic range of digital sensors.
What Techniques Should Be Applied to Capture the Twilight Tones of the Blue Hour?
The "Blue Hour," which occurs when the sun is below the horizon but the sky is not yet completely dark, offers a mystical and serene atmosphere. During this time, the sky turns deep blue and sapphire tones, while the details on the ground are illuminated by a cool light. Using a sturdy tripod is essential for capturing successful photographs during the blue hour, as the light level is quite low and long exposure times are required. It is important to keep the ISO value low to prevent graininess and to fix the aperture at an ideal point for sharpness (such as f/8 - f/11). Additionally, the color contrast created by artificial lights (if present, such as a cabin light) against the blue sky adds dramatic appeal to the composition. Setting the white balance to "daylight" or "cloudy" mode helps maintain the natural effect of blue tones.
What Are the Creative Ways to Cope with the Harsh Shadows of Midday Sun?
Although many photographers avoid shooting during midday hours, it is possible to create impressive works even under this challenging light. The harsh and vertical shadows created when the sun is directly overhead provide an excellent ground for texture shots or black-and-white photography. Strong contrasts present an opportunity to create graphic forms and abstract compositions. Additionally, using neutral density (ND) filters to soften flowing water or polarizing filters to deepen the blue of the sky and control reflections can be your greatest allies during these hours. If you are in a wooded area, the shadow areas created by trees protect you from harsh light, providing natural diffusion for macro shots.
What Advantages Do Cloudy Days Offer for Macro Photography?
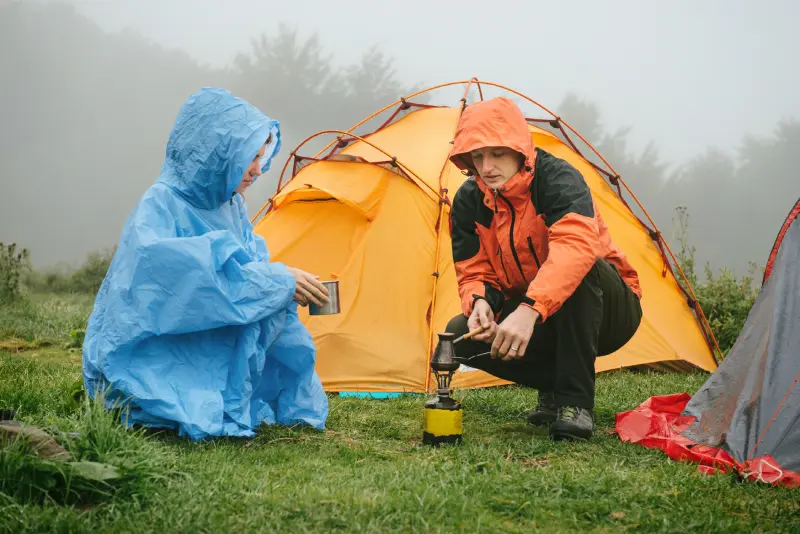
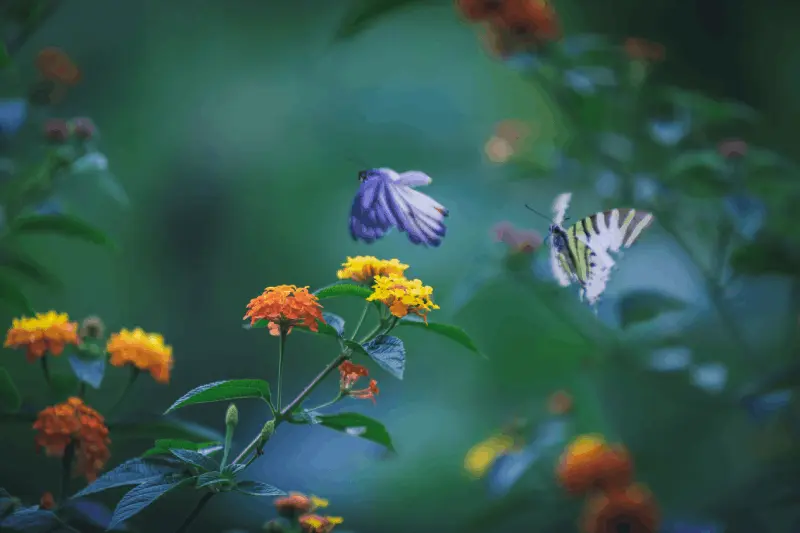
While many people describe cloudy weather as "bad weather," for nature photographers, a cloudy sky serves as a massive softbox (diffuser). The cloud layer distributes sunlight evenly in all directions, eliminating harsh shadows and bursting highlights. This is especially perfect for macro photography, revealing the natural colors and fine details of flowers, insects, and plants. Colors appear more saturated and realistic. Additionally, in forest shoots, balancing the extreme light differences between tree branches prevents the loss of details. Instead of including the sky in cloudy weather, setting up compositions that focus entirely on the subject and texture will enhance your visual success.
What Is the Source of the Dramatic Light Created Before and After a Storm?
When the weather suddenly changes, light takes on its most unexpected and dramatic form. A single beam of sunlight filtering through storm clouds is known as "God's Light" and illuminates a specific part of the landscape like a spotlight. These moments are unique for capturing the contrast between chaos and order in nature. After a storm, the clearing of dust in the air increases visibility, and colors become clearer than ever. The possibility of rainbows forming is also a bonus. In such situations, it is critical to move quickly and adjust exposure compensation according to the changing light. The gloomy atmosphere created by dark clouds enhances the emotional weight of the photograph, leaving a powerful impact on the viewer.
How Does Fog Affect the Composition of Light Distribution?
Fog adds an "atmospheric perspective" to the scene by obscuring the direction of light. While nearby objects appear sharp and dark, distant details become blurred as light is scattered. This creates an immense sense of depth in the photograph. Foggy weather...
The light in the forest is completely soft and the contrast is low. Preferring simplicity and minimalism in composition enhances the mysterious atmosphere created by the fog. The camera's light meter may give incorrect readings due to the brightness of the fog, so it may be necessary to apply +0.7 or +1 stop exposure compensation to prevent the photograph from being underexposed. Foggy forests or lakesides present scenes that transform into a fairy-tale world at these hours, captivating the viewer.How to Turn Winter Sunsets into Nature Photographs?
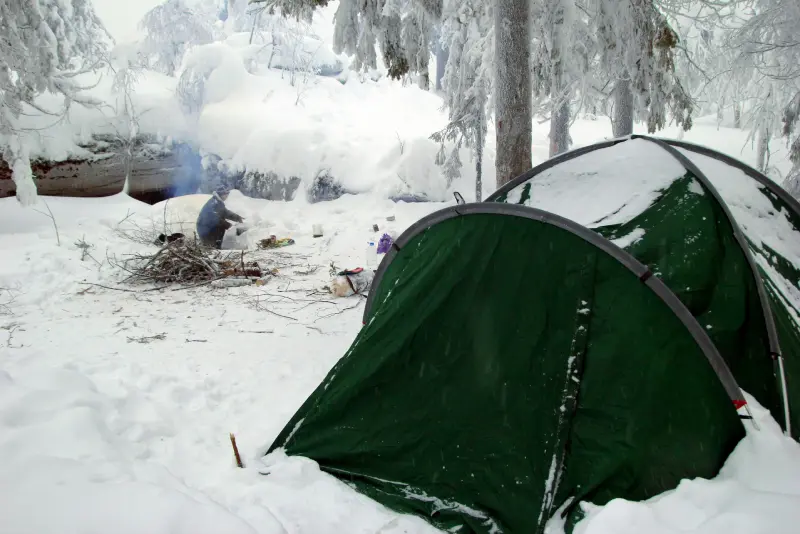
The winter sun travels on a much lower path in the sky compared to summer months. This means that during winter days, a significant portion of the day is dominated by the "golden hour" effect. Since the sun never reaches its zenith, shadows remain long and light continues to come from a lateral angle. The snow cover acts as a massive reflector, illuminating the details within the shadows. However, the brightness of the snow can mislead the camera's light meter, so it is essential to use manual settings or exposure compensation in snow photography. The winter light, combined with the cold atmosphere, allows you to create unique images with both technical and aesthetic clarity.
What is the Importance of Astronomical Twilight in Night Photography?
Astronomical twilight, which begins after the sun sets and the blue hour ends, symbolizes the transition to the time when stars and our galaxy are most clearly visible. When the last light in the sky fades, the Milky Way and constellations emerge in all their glory. In night photography, the night hour allows us to see the world in a different dimension. The presence or absence of moonlight also alters the character of the shot; a full moon scene illuminates like a night lamp, while a new moon phase allows you to focus solely on the stars. Using cameras with high ISO performance and wide aperture fast lenses (f/2.8 and below) to capture the depths of the universe is one of the most satisfying areas of nature photography.
What are the Best Conditions to Capture God Rays in the Forest?
To capture those breathtaking light beams filtering through the trees in forests, certain atmospheric conditions must come together. Generally, early in the morning, moments when humidity in the air is concentrated in the form of fog or dew are the best for this phenomenon. Water particles or dust particles in the air scatter sunlight, making them visible. Shooting with the light coming from the right direction, that is, at a slight angle against the light, makes these rays more pronounced. A darker background enhances the contrast of the light beams, making them more striking. These moments are usually very brief, so having scouted the location beforehand and knowing the spaces where the light will filter is a great advantage.
How to Follow the "Alpenglow" Effect in High Altitude Mountain Photography?
Alpenglow is the phenomenon where sunlight reflects off the upper layers of the atmosphere while the sun is below the horizon, painting mountain peaks in shades of pink, purple, or bright orange. This is a moment that lasts even shorter than the golden hour and is rarely captured. To photograph alpenglow, you need to be ready 15-20 minutes before sunrise or just after sunset. The way the light develops in this manner creates an almost surreal brightness on snow-covered peaks. To capture this moment, you should be on the western slope of the mountains (for sunrise) or on the eastern slope (for sunset). Using a long focal length lens to focus solely on these colorful peaks will elevate the dramatic effect of the scene to the highest level.

How Should Light and Reflection Dynamics be Managed at Water Edges?
In shots taken at lakes, rivers, or sea shores, the effect of light on the water surface changes every second. The still water in the early morning hours acts as a perfect mirror, reflecting all the colors and clouds in the sky. These hours, when there is no wind, are ideal for symmetrical compositions. However, as the sun rises, the glare on the water surface increases, causing details to be lost. Here, the use of a circular polarizing filter comes into play; by rotating your filter, you can see the details within the water or make the reflection more pronounced. The angle of the light also determines the color of the water; direct light makes the water appear more transparent and turquoise, while horizontal light can turn the surface into a golden tray.
How Does Light Direction Emphasize Texture in Sand Dunes and Canyons?
Dunes and deep canyons are the most sensitive geographical areas to the direction of light. To create a sharp light-shadow distinction on the slopes of sand dunes, hours when the sun is at a low angle should be preferred. Direct light (front lighting) flattens the texture of the sand, while side lighting extends the shadows of each grain of sand and the wind's curves, giving a tremendous volume. In canyons, instead of direct sunlight, "reflected light" bouncing off the walls is much more impressive. This reflected light enhances the reds and oranges in the canyon walls, creating the "glow" effect we call inner burning. In such shots, exposing for the open areas helps you maintain the mystical atmosphere within the shadows.
How to Create a "Blue Hour" Setup Combining City Lights and Natural Light?
Nature photography does not always have to be in the wild; sometimes a beach scene can also be captivating. You want to combine nature with the lights of the sabahı or the mountain village. At this point, the blue hour is the only time when artificial and natural light creates a "light balance." The brightness of city lights aligns with the deep blue tone of the sky during this narrow time frame. If you shoot too early, the city lights will appear weak; if you shoot too late, the sky will completely darken, and buildings will appear as bright white spots. To capture this balance, starting to shoot about 30-45 minutes after sunset and gradually increasing the exposure time is the most accurate strategy.
What Light Reveals Fresh Green Tones in Spring?
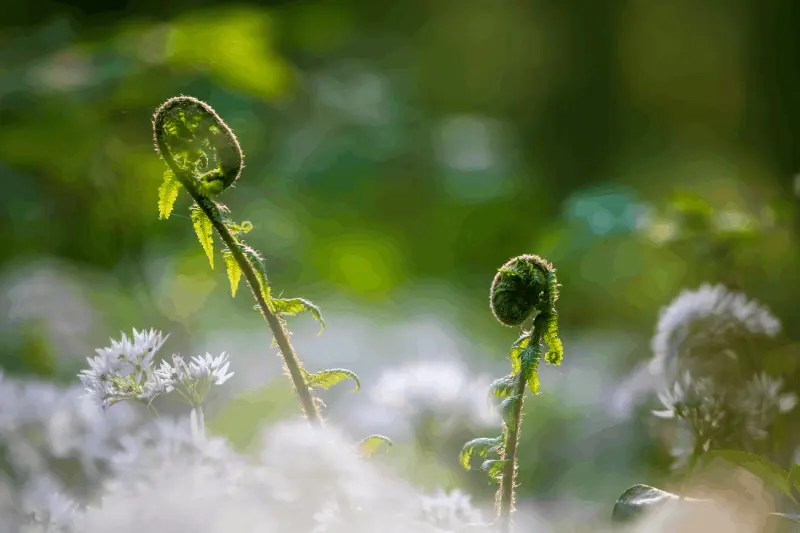
When photographing the awakening of nature in spring, you want to preserve the vibrant green tones of fresh leaves and flowers. Harsh sunlight can make greens appear yellowish and pale. Therefore, slightly cloudy weather or soft morning light filtered through the branches of trees is best for spring photographs. Capturing light coming from behind the leaves using the "backlighting" technique enhances the veins and translucent texture of the leaves. This is a method known as "backlighting" that creates wonders in plant photography. In humid weather, light coming after the rain helps to elevate the saturation of colors to the highest level, allowing you to capture all the energy of spring in your frame.
How to Predict the "Burning" Effect in the Sky During Sunset Photos?
Not every sunset is equally colorful. To predict that magnificent redness referred to as the "burning" of the sky, you should look at the type of clouds in the sky. Very low and thick clouds block the sun's rays, preventing the light from passing through. However, high and scattered clouds (cirrus or altocumulus) reflect the rays sent by the sun from below the horizon. The amount of moisture and dust in the air also intensifies these colors. Especially if there is a clear gap on the western horizon, the sun will filter through and illuminate the clouds above you from below. By following these meteorological signs, you can choose the most productive evenings instead of waiting in an empty space and prepare accordingly.
How to Use the Graphic Power of Shadows in Landscape Photography?
Just as light is crucial in photography, shadows are equally critical. Shadows define forms and provide balance by filling the voids within a frame. Especially in dunes, mountain ridges, or trees under snow, the lines created by shadows can serve as "leading lines" that direct the viewer's eye to the main subject. Even during harsh lighting hours, you can achieve minimalist and graphic results by using the black areas created by shadows as design elements. In black-and-white compositions, the contrast of shadows is a fundamental element that determines the emotional drama and visual rhythm of the photograph. Observing where the shadows fall while focusing on the light elevates your compositional skills to a higher level.
Why is Low Light the Most Suitable for Waterfall and Stream Photos?
To create that silky water effect in waterfall photographs, you need to use long exposure. However, in bright sunlight, the amount of light entering your lens is too much, causing the image to completely burn out (overexpose). Therefore, for this type of shot, you should prefer either sunrise/sunset hours or shaded areas. Cloudy weather is also ideal for water shots as it prevents glare. If you must shoot in bright light, you should artificially reduce the light entering the sensor using ND filters (neutral density filters) and extend the exposure time to seconds. In low light, the details on the water's surface and the surrounding green moss appear much more pronounced and natural.
When is it Necessary to Blend Artificial Light with Natural Light in Macro Shots?
Sometimes the light provided by nature may not be sufficient or accurate enough to illuminate the smallest details. Especially when capturing mushrooms on the forest floor or insects in the shade, it may be necessary to keep natural light as the main light source while providing fill light with a small LED panel or reflector. This helps to illuminate the shaded parts of the object, preventing detail loss. The important thing is to ensure that the artificial light appears "natural"; that is, the light should not be too harsh and should not conflict with the direction of natural light. Synchronizing the white balance from your camera or editing software is critical to ensure color harmony between the two different light sources.
Why is Patience and Planning Critical in Pursuit of the Right Light?
Nature photography is not just about pressing the shutter; it is about waiting for that perfect moment when the right light arrives. Sometimes you wait for hours for the wind to disperse the clouds over a hill. Using mobile applications that show the sunrise and sunset angles (like PhotoPills, The Photographer’s Ephemeris) during the planning phase can save you from being in the wrong place at the wrong time. However, even the best plan must be prepared for the surprises of nature. Patience is the greatest equipment of a photographer. Observing your surroundings while waiting for the light to change allows you to discover new compositions. Remember, even the most beautiful landscape in the world is just a coordinate without the touch of light.
What Should Be Considered to Preserve the Character of Light in Photo Editing?
After the shoot, the edits made in a digital darkroom (Lightroom, Photoshop, etc.) should enhance the spirit of the light you captured. It is important not to distort the character of natural light by over-processing. For example, excessively warming a cold photograph taken during the blue hour can kill the authenticity of that moment. Instead, the hour captured... Highlighting the natural color tones of light while balancing the dynamic range is a more professional approach to gently opening the details in the shadows. Adding a slight vignette to support the direction of the light or increasing the clarity of the areas where the light hits helps guide the viewers' gazes. Editing should not be used to "create" light, but to "elevate" the existing light.
Conclusion: Learning to See the Light is a Journey
There is no such thing as the "best" light hour for nature photography; there is only light that best fits your story. The romance of golden light, the melancholy of blue light, the drama after the storm, or the mystery of fog... Each represents a different face of nature. The techniques and hours we have covered in this guide are tools for you. True success lies in taking this knowledge out into the field and creating your own style. Every season, every weather condition, and every hour of the day offers a different opportunity. Grab your camera, step outside, and keep your eyes and mind open to capture that light that nature whispers to you. Following the light is, in fact, a journey into the heart of nature.