Is It Really Possible to Bake Bread in the Wilderness with a Cast Iron Pot?
Although it may seem impossible for many people to bake bread outdoors without a controllable oven, the cast iron pot is the greatest miracle that eliminates this impossibility. The high thermal mass of cast iron and its ability to distribute heat evenly make it the most efficient portable oven in the wild. Baking bread with a cast iron pot is not only possible but also the quickest way to achieve that unique smoky aroma and crispy crust that you cannot get from home ovens. Although this process requires patience and fire management, the result is always worth the effort.
Why Does a Cast Iron Pot Serve as a Professional Oven in the Wilderness?
The secret to the success of a cast iron pot in the wild lies in the microclimate it creates inside. Professional bread ovens retain moisture inside to allow the bread to rise and the crust to shine. The heavy lid of the cast iron pot prevents the steam from escaping the dough and cooks the bread with its own steam. This "steam bath" effect allows the bread to expand more in the initial phase (oven spring) and subsequently forms a caramelized, thin, and crispy crust. The even distribution of heat from all sides also prevents the inside from remaining doughy.
How to Achieve Ideal Heat Control Over Campfire?
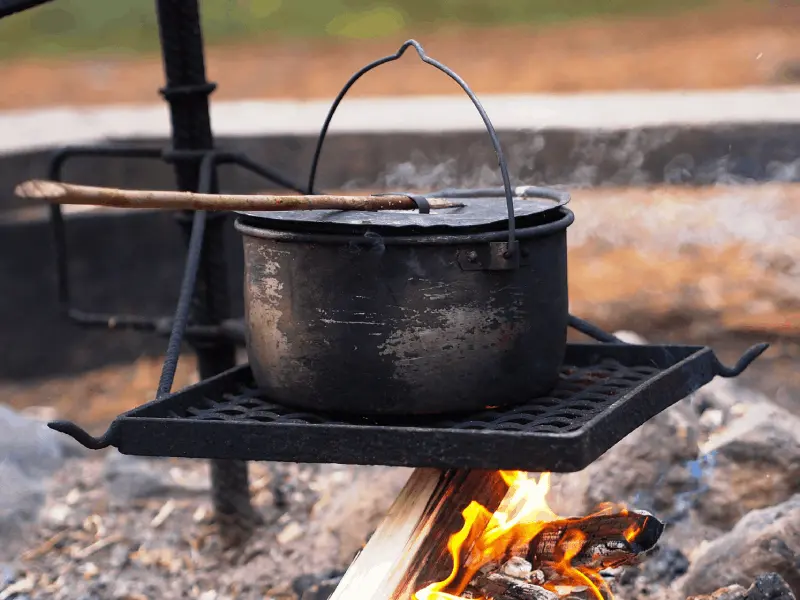
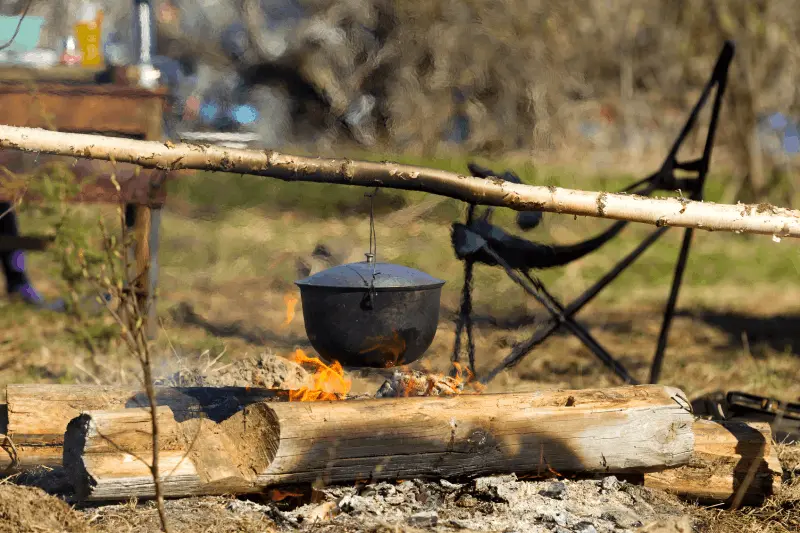
Managing heat at the fire is much more complex than turning a dial in the kitchen; because here, variables such as wind, air temperature, and wood quality come into play. For ideal heat control, you should focus on the embers rather than the flames. Placing a cast iron pot directly over the flame causes the bottom of the bread to burn quickly. Instead, you should create a pool of embers at the edge of the fire and place the pot over these embers. Additionally, to ensure top cooking, you should simulate a "bottom-top heating" system by placing a certain amount of hot embers on top of the pot lid.
What Is the Difference Between a Legged "Dutch Oven" and a Standard Cast Iron Pot?
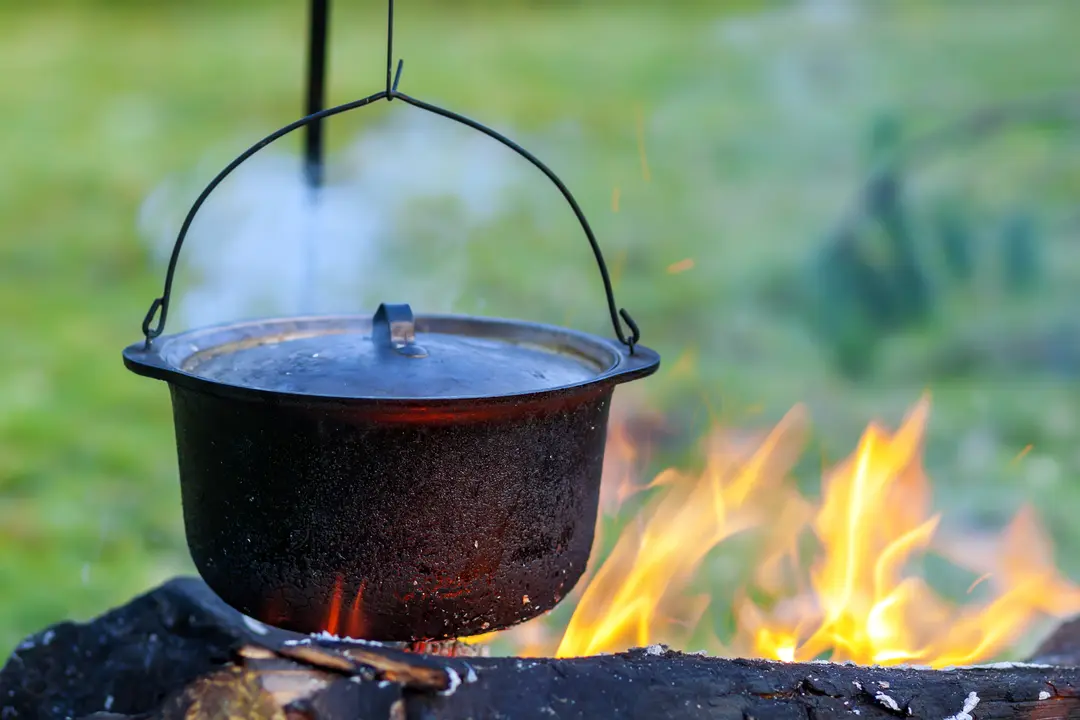
The type of pot you choose when baking bread outdoors directly affects operational ease. The legged models known as "Camp Dutch Oven" are designed to sit directly on the embers and prevent them from being crushed and extinguished thanks to their legs. Additionally, these models usually have a curved edge on the top; this prevents the embers or coals placed on top from spilling into the food when you open the pot. If you are using a standard home cast iron pot, you will need to place a trivet or a three-legged stand underneath to manage the ember flow.
Should You Prefer Enameled or Raw Cast Iron?
When it comes to baking bread, raw cast iron pots are always a step ahead of their enameled counterparts. Enameled surfaces carry the risk of chipping (crazing) at very high temperatures and direct flame contact. Additionally, raw cast iron gains a natural non-stick layer over time due to the "seasoning" that forms, allowing the bottom of the bread to take on a more characteristic color. In the harsh conditions of the wild, the durability of raw cast iron against drops and impacts is preferred over the fragility of enamel. Raw cast iron also absorbs heat better, transferring it to the internal volume.
How to Adjust Moisture Balance for a Golden Crust Over Campfire?
For the bread to have that desired crispy and shiny appearance, moisture is crucial. Sprinkling water into a home oven is a common method, but this is unnecessary in a cast iron pot; the dough's own moisture is sufficient. However, if you are in a very dry climate or if your pot lid does not fit tightly, you can sprinkle a little water over the dough just before placing it in the pot or drop a small ice cube into the pot. This ice cube will create a moist environment by steaming as soon as the pot is closed, allowing the crust to harden more gradually and permitting the bread to rise more.
How to Utilize Natural Heat Sources When Proofing Dough?
Proofing dough on a cold camping evening can take hours. Using the radiant heat emitted by the fire is a clever solution to speed up this process. You should place your dough container not too close to the fire but at a distance that does not burn you when you hold your hand there. Another method is to leave the dough container wrapped in a dark-colored cloth in sunny weather directly in the sunlight. If you are proofing overnight, placing it at the foot of your sleeping bag (in a tightly closed container) will create a stable fermenting environment by utilizing your body heat.
How Does the Placement of Embers Affect Bread Quality?
Many novice bakers make the mistake of placing all the embers under the pot. However, the "golden rule" when baking bread is that 25% of the heat should come from below and 75% from above. Since the bottom of the bread is very prone to burning, only a thin layer of embers should be placed underneath, while the main heat source should be concentrated on top of the lid. This way, while the inside of the bread cooks, the top crust browns beautifully, and the air circulation inside the pot maximizes the oven effect. Refreshing or rearranging the embers every 15 minutes prevents the formation of local hot spots.
What Challenges Does Long Fermentation in the Open Air Bring?
Heat in the wild is not as stable as at home; temperatures can drop below freezing at night and rise rapidly during the day with the sun. This fluctuation makes it difficult to predict yeast activity. While long fermentation (cold proofing) enhances the flavor of the bread, this process can be risky in a campsite without a refrigerator. If the weather is very hot, the dough can quickly "overproof". "shira" (over-proof) can be fermentable and its structure may deteriorate. In this case, it is necessary to come up with creative solutions such as placing the dough on the cool stones by the riverbank or digging a shaded pit to store it there.
How to Prevent the Bottom of Bread from Burning in a Dutch Oven?
Several strategic steps can be taken to prevent the most common problem of bottom burning. First, sprinkling a bit of corn flour or semolina on the bottom of the pot creates a thin air gap and barrier between the dough and the metal. Another effective method is to use baking paper (parchment). Placing the paper in the pot with the dough makes transfer easier and reduces direct heat contact somewhat. Additionally, instead of placing the pot directly on the coals, placing a few flat stones underneath will create an air gap between the pot and the coals, softening the heat.
How to Adapt Outdoor Cooking to Seasonal Conditions?
Baking bread in winter is not the same as in summer. In cold weather, heating the Dutch oven takes much longer, and the pot continuously loses heat to the cold air outside. In this case, you need to use more coals and create a windbreak. In summer, on the contrary, high ambient temperatures can cause the dough to rise very quickly and the Dutch oven to overheat. Spring months are the most ideal time for bread due to high humidity, but a tent may be needed to protect the fire from the possibility of rain.
How to Maintain and Clean a Dutch Oven in the Campsite?
After the cooking process is completed, maintaining the pot is critical for the success of the next use. While the pot is still warm, you should scrape out the crumbs with a spatula and definitely avoid using detergent. If there are baked-on pieces, you can soften the residues by putting some water inside and boiling it over the fire. After cleaning, you should completely dry the pot over the fire and while it is still warm, renew the protective layer by applying a very thin layer of vegetable oil. This process is the only way to prevent the moisture in the air from rusting the cast iron.
How to Update Flour and Water Ratios According to Outdoor Variables?
When making bread outdoors, "standard recipes" are just guidelines. Altitude affects the water absorption capacity of the flour; at high altitudes, the air is drier, so your flour may need more water. Additionally, the humidity level at the campsite also affects the consistency of the dough. Therefore, it is important to proceed by feeling the texture of the dough instead of adding all the water at once while kneading. Generally, a slightly higher hydration (wetter) dough outdoors increases the steam effect inside the Dutch oven, resulting in better outcomes, but this dough is more difficult to work with.
Do No-Yeast Bread Techniques Work in a Dutch Oven?
If your time is limited or you don't have yeast with you, breads known as "soda bread" yield great results in a Dutch oven. These doughs, which rise through the reaction of baking soda and an acidic liquid (buttermilk, lemon juice, etc.), do not require long fermentation times. The intense heat provided by the Dutch oven ensures that these types of quick breads are thoroughly cooked inside as well. However, the bread you obtain with this method will not have the airy structure of classic yeast bread; it will be more like a dense and filling cake texture.
Where Does the Flavor Difference of Bread Baked Over a Campfire Come From?
In a Dutch oven, the taste of bread baked over a wood fire has a depth that modern ovens can never replicate. The primary reason for this flavor difference is the smoke from the woods used. Every time you open the lid to check the pot, the smoky aroma that enters permeates the dough's pores. Additionally, the slight "burnt" notes created by uncontrolled fire make the Maillard reaction on the crust more complex. The clean air inhaled in a natural environment and the effort spent during the cooking process also psychologically elevate the perception of flavor to the highest level.
What Are the Critical Mistakes for First-Time Attempters?
The biggest mistake beginners make is being impatient and constantly opening the pot's lid. Each time the lid is opened, valuable heat and steam escape, causing the bread to collapse. Another mistake is not preheating the pot sufficiently. Dough entering a cold pot can stick to the metal. Additionally, if the fire is too hot, it can burn the outside while leaving the inside undercooked. The most reliable way to understand the cooking status is to insert a thermometer into the center of the bread during the first attempt to ensure that the internal temperature reaches 90-95 degrees.
How to Keep and Use Sourdough in the Wild?
Camping with sourdough is like bringing your most loyal friend along. You need to adjust the feeding intervals to keep the yeast active during the trip. If you are on a long journey, feeding the yeast a stiffer (lower hydration) mixture will slow its activity, allowing it to last longer. On baking day, you should revive the yeast at a warm spot in the campsite. The compatibility of sourdough with the Dutch oven is excellent; the stable heat provided by the cast iron meets the long and stable cooking time that sourdough requires.
Is Using Baking Paper Outdoors a Trick or a Necessity?
Although many traditional campers refuse to use baking paper, this tool is actually a technical necessity that makes things incredibly easier. Placing a delicate, risen dough into a preheated deep Dutch oven at 250 degrees by hand is both dangerous and increases the risk of the dough collapsing. The paper's...
By holding the dough by its edges and "lowering" it into the pot, you ensure the shape is maintained. Additionally, considering the difficulty of washing dishes outdoors, keeping the pot clean is a significant advantage. This is not a trick, but a tool for efficiency that allows you to focus your energy on flavor rather than cleaning.What Are the Ideal Types of Wood for Cast Iron Pots?
Not all woods provide the same heat. Hardwoods like beech, oak, and olive provide the most ideal coals for baking bread. These woods burn slowly and leave behind high-quality coals that provide stable heat for a long time. Softwoods like pine and fir burn quickly, produce a lot of smoke, and cause uncontrolled heat fluctuations on the cast iron pot. If you can only find softwood, you should continuously feed the fire and change the coals more frequently. The ideal thing you need for baking bread is not flames, but coals made from hard woods.
How to Minimize the Effect of Wind on Cooking Time?
Wind is the hidden enemy of camp cooking. It not only stirs the fire but also quickly cools one side of the cast iron pot, causing uneven cooking. To break the wind's effect, it is essential to build a stone wall around the pot or use foldable metal windbreaks. If you are in a very windy environment, placing the pot in a snug hole dug into the ground and surrounding it with coals (the Dug-in oven method) is one of the oldest and most effective survival techniques you can use to trap heat and protect from the wind.
How Do the Cuts Made on the Dough Affect Baking?
The aesthetic cuts made on the bread (scoring) are not just a visual show. These cuts create controlled "weak points" where the dough can expand during baking. If you do not score the bread, the gases inside will burst out unevenly from the weakest point of the crust, resulting in misshapen bread. To perform this process outdoors, you should have a sharp knife or a razor blade at hand. A deep cut made at a 45-degree angle ensures the formation of that famous "ear" of bread when combined with the high heat of the cast iron pot and helps make the inside more airy.
How Can You Tell When the Bread Is Done Baking?
In a professional kitchen, there are timers, but outdoors, your senses are your best helpers. The first sign is the smell; when the aroma of caramelizing wheat spreads around, you are nearing the end. The second method is the "thump test." When you tap the bottom of the bread you pulled from the pot with your finger, it should make a "hollow" sound like you are hitting a piece of empty wood. If the sound is dull, it means the inside is still moist. The most reliable method is to use a thermometer that reads internal temperature. When the internal temperature reaches between 93-97 degrees, you can take that magnificent loaf off the heat.
How Long Should You Wait to Cut the Baked Bread?
This may be the hardest part of the process. Although the smell of fresh bread coming out of the oven is tempting, cutting the bread immediately can ruin its structure. The baking process continues even after the bread is out of the pot as the steam inside escapes. If you cut it while it is still hot, the steam inside will escape quickly, and the inside of the bread will turn into a gummy texture. For an ideal result, you should wait at least 1 hour, preferably until it is completely cool. Outdoors, you can utilize this time by wrapping the bread in a cloth bag and hanging it in a place that does not get wind.
Should Different Flour Mixtures Be Tried in a Cast Iron Pot?
Instead of using only white flour outdoors, trying different flour mixtures like whole wheat, rye, or spelt increases nutritional value and alters the baking dynamics. Whole grain flours absorb more water and create a heavier dough. This weight must be balanced with the high heat of the cast iron pot. For example, a dough with 20% rye flour added gains incredible aroma depth when baked in a cast iron pot. However, since these types of flour make the dough more fragile, more care should be taken during kneading and folding (stretch and fold) processes.
What Should Be Considered When Baking Bread at High Altitudes?
If you are climbing a mountain or camping in high plateaus, the laws of physics change. At high altitudes, the air pressure is lower, causing water to boil at lower temperatures and the dough to rise much faster. This can lead to the dough "collapsing" before it enters the oven. As a solution, you should reduce the amount of yeast slightly and put the dough in the oven (pot) a bit earlier than usual. Additionally, due to lower pressure, moisture loss occurs more rapidly, so you should ensure that the pot lid is airtight and place a weight on it if necessary.
How Does the Quality of Water Used Affect Bread Flavor?
Even if the stream water at your camping site looks fresh and clean, its mineral balance can affect fermentation. Very hard waters slow down yeast activity, while very soft waters can make the dough sticky. If you have a questionable water source, it is safest to boil the water first and let it cool to room temperature before using it. Chlorinated city tap waters can kill yeast, so natural spring waters in the wild are actually an invaluable treasure for making bread. The temperature of the water is also critical; water that feels neither hot nor cold when you touch it is "lukewarm" water, which is the yeast's favorite starting point.
Is Making Bread Outdoors a Survival Skill?
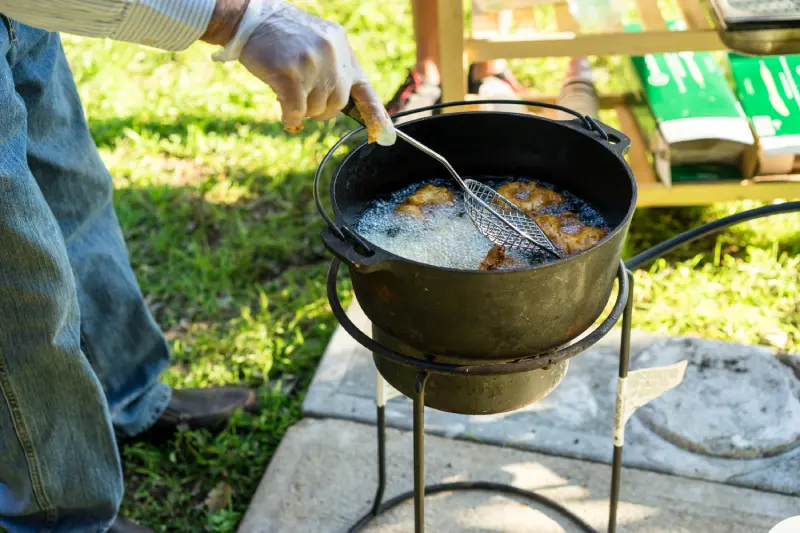
While making bread is often seen as a hobby, the ability to produce food with flour and water in a cast iron pot is actually a very valuable survival skill. In long-term stays and... In emergencies, producing high-calorie and digestible food with limited resources is of vital importance. A cast iron pot is not only used for baking bread but is also a versatile tool that can be used for purifying water, making soup, or roasting. Therefore, learning to bake bread in a cast iron pot elevates your self-sufficiency to a higher level.
Why Is It Important to Share This Process with Your Camping Friends?
Baking bread is not just a cooking process; it is also a means of establishing social bonds. The kneading of the dough, the feeding of the fire, and the exciting anticipation while waiting by the pot is a unique ritual that you can share with your camping friends. Sharing the first warm slice of bread fresh from the oven with butter will be the most unforgettable moment of the camp. This process allows you to experience the "slow food" philosophy in its purest form, escaping the pace of the modern world. A shared loaf of bread is the oldest human tradition that nurtures friendships in the camp.
Is It Worth Carrying the Weight of a Cast Iron Pot?
Many ultra-light campers avoid carrying the 5-7 kilogram weight of a cast iron pot. However, when it comes to vehicle camping or a fixed campsite, this weight pays off with the culinary possibilities it provides. A cast iron pot is the best way to bring your kitchen to nature. It allows you to cook dishes that you could never make with other lightweight camping pots. If you are going to carry it in your backpack, you can also modify smaller, handle-less cast iron pans as ovens; however, nothing can replace a real "Dutch Oven."
What Are the Tips for Aesthetic Concerns and Photography?
Bread baked over a campfire is a fantastic visual object for social media or personal moments. The best photos are often taken the moment the bread comes out of the pot, in the soft morning sunlight, or in the warm glow of the fire. To capture the steam rising from the cracks you make on the bread, you should use backlighting. Adding a camping knife, a pinch of fresh thyme, or a cup of coffee enhances the story of the photograph. But remember, even the most beautiful photo cannot fully reflect the aroma and taste of that fresh bread at that moment.
How Are Sustainability and Nature Conservation Principles Applied?
When baking bread over a fire, it is essential to remember the "Leave No Trace" principles. The coals you used for baking must be completely extinguished and buried without spreading ash after you are done. You should not leave leftover dough scraps or bread crumbs in the campsite to avoid affecting wildlife; you must take them back with you. Additionally, you should never cut down live trees to make a fire; only use dead wood found on the ground. Cooking in nature is a privilege, and respecting our environment to protect this privilege is our fundamental responsibility.
Where Could Camping Cooking Take You in the Future?
Once you start baking bread in a cast iron pot, it can turn into a passion. In the next stage, you might consider fermenting your own sourdough from nature (with wild fruits), or adding wild garlic or thyme that you collected from the camp into your bread. You may also become curious about different cooking techniques, such as building underground ovens or stone ovens. Baking bread with a cast iron pot in nature is a journey to meet one of humanity's most basic needs in the most primitive yet effective way, and this journey offers a new discovery every time.